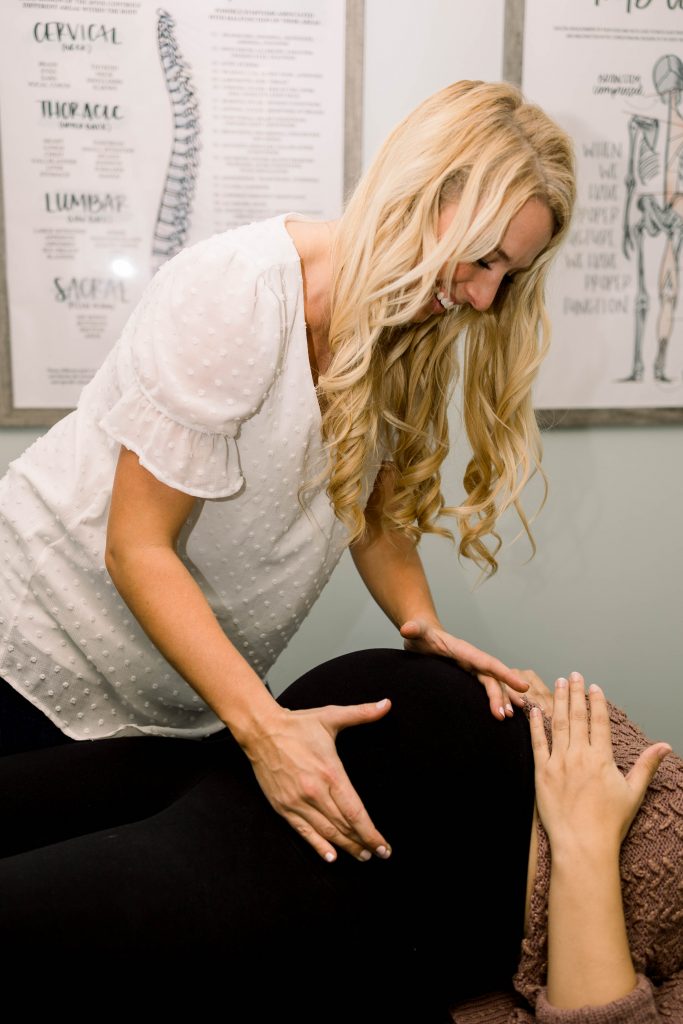
Have you heard of the Webster Technique? Its all the rave when discussing prenatal care. You won’t find many, if any, birth workers, such as OBGYNs, midwives, doulas, etc. refer a pregnant to any chiropractor who is not Webster Certified. Here’s why- practitioners that are certified in the Webster Technique are highly trained in the biomechanics of a women’s pelvis during pregnancy, as well as, the physiology occurring within a pregnant mama. These two things are essential to know and understand when treating a pregnant woman. In this blog, I get into the nitty-gritty of what the Webster Technique is and the anatomy aspect of it- for all you science-y, research-driven people out there!
The Webster Technique balances the pelvis by addressing the joints, muscles, and ligaments of the pelvis. The first correction performed addresses the sacrum, or the triangle bone in the back of your pelvis. Because of the sacrum misalignment, the pelvic bowl’s diameter is decreased. As a chiropractor, I will adjust the sacrum with a light and gentle push- you could call it. I use a special table that has drop pieces that aid in the adjustment and allow for the doctor’s force to be minimal because the table’s drop mechanism aids in the adjustment itself. 5
The next aspect of the Webster adjustment is addressing the piriformis muscle. This muscle attaches to the front aspect of the sacrum at the levels of the S2-S4 sacral vertebrae, travels through the greater sciatic notch, and anchors to the superior aspect of the greater trochanter. Doing a gentle release of this muscle can decrease tension within the pelvis. 5
Next, addressing the sacrotuberous ligament is essential to the adjustment. Because the sacrum is subluxated, the sacrotuberous ligament is tight on that same side. The sacrotuberous ligament attaches to the sacrum, and when it is out of alignment, it causes it to be tight. During this aspect of the adjustment, I contact the ligament lightly, stretching the ligament, allowing the tension to release. I envision a rubber band that is tight and just giving it a gentle little stretch! 5
As I mentioned earlier, the pubic symphysis is not a freely movable joint. During the adjustment, we still want to address the pubic symphysis joint and stimulate the proprioceptors within the joint. I often do this using a tool called an activator or by using the drop piece of my table. The activator is a device that creates a very specific location and light force to stimulate the proprioceptors. What are proprioceptors, you ask? Great question! They are receptors within your joints that tell the brain where the joint is in space and how its moving.
The next part of the adjustment is the psoas and iliopsoas muscle release. The psoas and iliopsoas muscles originate from the front aspect of the spine and dives deep into the pelvic bowl. Facilitating the release of these muscles allows for improved pelvic biomechanics. The sacroiliac joint is positively affected. Its range of motion will be improved, thus increasing proprioception and proper neurological function of the joint. When these muscles are contracted, it negatively impacts the already immobilized or locked up SI joint, creating more issues within the pelvis. This can result in the “sciatic pain” presentation that many pregnant women experience.
The last step of the Webster technique adjustment is the round ligament release. The round ligament originates from the uterus and inserts onto the front part of the pelvic bones. The round ligament is composed of muscle fibers, allowing it to contract. When this is tight, it can cause discomfort and pain to the mother, but also distort the shape of the uterus. When I do the round ligament release, I use a very light pressure to help stretch out the ligament. By releasing the tension within this ligament, the distortion within the uterus is diminished, allowing for a smooth and easy exit for the baby when it comes time for birth!

